Exercises For A Smoother Barefoot Shoe Transition
A simple set of transition exercises to support your feet, calves, and ankles as you adapt to barefoot-style shoes - so your body can build capacity and movement starts to feel more natural over time. Start with these simple exercises 3–4 times a week, start lighter than you think, and build gradually as it feels easier.
Calf + Achilles Capacity (Calf Raises)
Calf + Achilles Capacity (Calf Raises)
This builds calf capacity for a zero-drop transition. You’re training two key muscles - the straight-leg version (gastrocnemius) and the bent-knee version (soleus) - so walking and longer days feel easier over time.
Key exercises:
- Straight-leg calf raises (gastrocnemius)
- Bent-knee calf raises (soleus)
Tips
- Keep movements slow and controlled
- Touch a wall lightly for support to maintain good form
- Don't rush the downward movement, this is where most work is done
- Maintain upright posture
Calf Raises - Progression Table
| Stage | Frequency / Reps | When To Progress | Tips |
|---|---|---|---|
| Level 1 | 3–4 per week / 2 sets of 8–12 per side (each exercise) | You can keep the tempo slow, and any soreness settles within 24–48 hours. | Easier: start with two legs, hold a wall, smaller range.
Harder: slower lowering (3 sec down). |
|
Level 1 Frequency / Reps 3–4 per week / 2 sets of 8–12 per side (each exercise) When To Progress You can keep the tempo slow, and any soreness settles within 24–48 hours. Tips Easier: start with two legs, hold a wall, smaller range.
Harder: slower lowering (3 sec down). |
|||
| Level 2 | 3–4 per week / 3 sets of 10–15 per side (each exercise) | No day-to-day build-up of tightness, and both versions feel controlled. | Easier: drop to 2 sets.
Harder: progress to single leg raises, add a 3–5 second pause at the top (keep it smooth and controlled). |
|
Level 2 Frequency / Reps 3–4 per week / 3 sets of 10–15 per side (each exercise) When To Progress No day-to-day build-up of tightness, and both versions feel controlled. Tips Easier: drop to 2 sets.
Harder: progress to single leg raises, add a 3–5 second pause at the top (keep it smooth and controlled). |
|||
| Level 3 | 3-4 per week / 3 sets of 8–12 per side (each exercise) | You can do this for 2–3 sessions with clean form, and recovery stays easy within 24–48 hours - even after a longer day on your feet. | Harder: single leg raises, add load (backpack/dumbbell/kettlebell) or longer tempo lowers.
Extra Tip: keep form clean - no bouncing. |
|
Level 3 Frequency / Reps 3-4 per week / 3 sets of 8–12 per side (each exercise) When To Progress You can do this for 2–3 sessions with clean form, and recovery stays easy within 24–48 hours - even after a longer day on your feet. Tips Harder: single leg raises, add load (backpack/dumbbell/kettlebell) or longer tempo lowers.
Extra Tip: keep form clean - no bouncing. |
|||
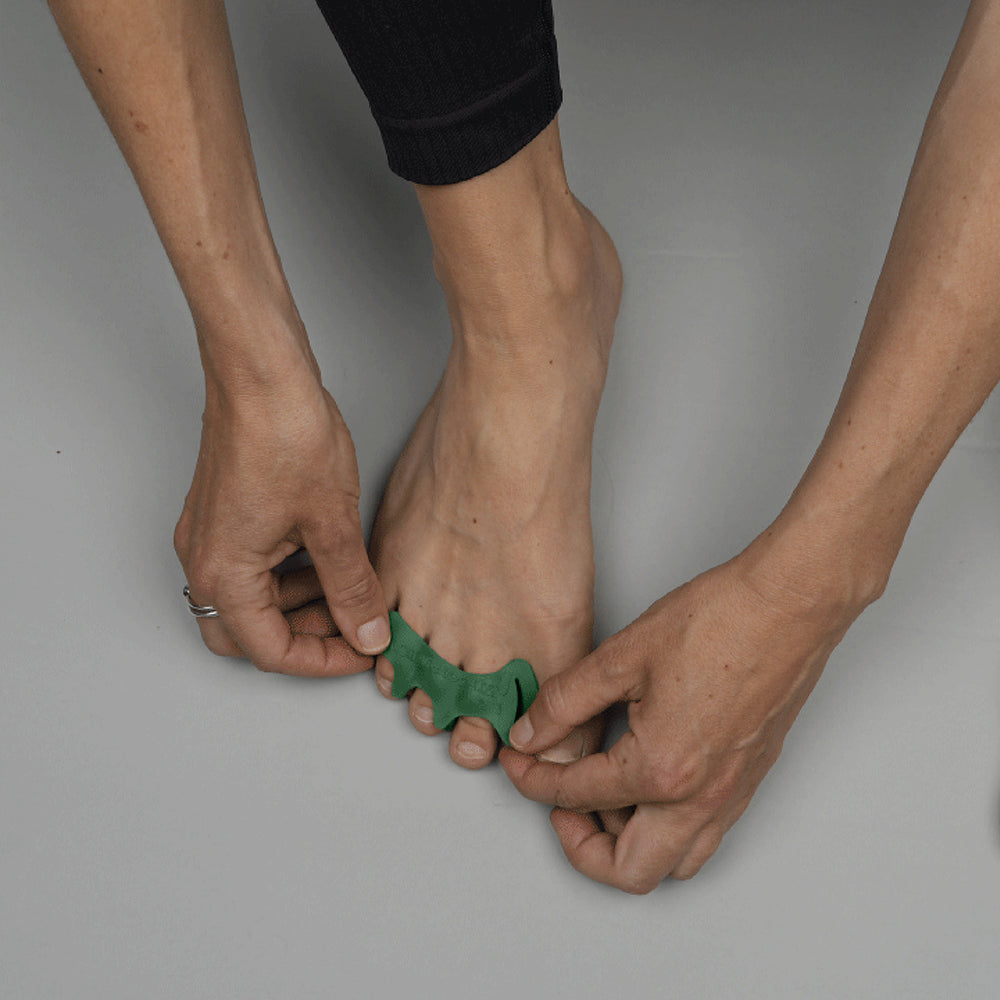
Toe Control (Toe Splay + Mobility)
Toe Control (Toe Splay + Mobility)
These exercises help build toe mobility, strength and co-ordination. This can support better balance and stability - and makes foot-shaped shoes feel more natural because your toes can actually do their job.
Key exercises:
- Big toe up, other four down
- Big toe down, other four up
- Active toe splay, as finisher exercise
Tips
- Keep movements slow and controlled
- Big toe and the other toes take turns
- Keep your heel and the ball of your foot anchored
- Avoid clawing / gripping the floor - it creates tension and reduces control
Toe Control - Progression Table
| Stage | Frequency / How Long | When To Progress | Tips |
|---|---|---|---|
| Level 1 | 3–4 per week / 60–90 seconds | You can do slow reps with no cramping (even if range is small). | Easier: seated, lighter effort.
Extra Tip: keep heel + ball of big toe heavy while toes move. |
|
Level 1 Frequency / How Long 3–4 per week / 60–90 seconds When To Progress You can do slow reps with no cramping (even if range is small). Tips Easier: seated, lighter effort.
Extra Tip: keep heel + ball of big toe heavy while toes move. |
|||
| Level 2 | 3–4 per week / 2 minutes | You can separate big toe vs other toes for 8–10 clean reps each way. | Easier: standing with wall support if needed.
Extra Tip: slow tempo, don’t let the ankle roll out. |
|
Level 2 Frequency / How Long 3–4 per week / 2 minutes When To Progress You can separate big toe vs other toes for 8–10 clean reps each way. Tips Easier: standing with wall support if needed.
Extra Tip: slow tempo, don’t let the ankle roll out. |
|||
| Level 3 | 3-4 per week / 2-3 minutes | You can keep control while lightly loading the foot. | Harder: gentle weight rocking backwards and forwards - if control slips, step back a level. |
|
Level 3 Frequency / How Long 3-4 per week / 2-3 minutes When To Progress You can keep control while lightly loading the foot. Tips Harder: gentle weight rocking backwards and forwards - if control slips, step back a level. |
|||
Arch Strengthening
Arch Strengthening
This helps build foot control - the kind that helps you feel more balanced and controlled on your feet. Over time, it supports stronger mechanics and smoother movement, so foot-shaped, zero-drop shoes can become your natural default.
Key exercises:
- Optional warm up: If your feet feel stiff, roll the arch gently for 30–60 seconds per foot before you start
- Arch doming without scrunching toes
Tips
- Keep movements slow and controlled
- Stay tall, keep toes long, and lift the arch without scrunching or gripping
- Think “tripod foot” - big toe, little toe and heel stay planted while the arch lifts
Arch Strengthening - Progression Table
| Stage | Frequency / How Long | When To Progress | Tips |
|---|---|---|---|
| Level 1 | 3–4 per week / 60–90 seconds | You can lift the arch without toe scrunching, and the movement feels controlled. | Easier: seated, lighter effort.
Extra Tip: toes long, tripod foot (heel - big toe - little toe). |
|
Level 1 Frequency / How Long 3–4 per week / 60–90 seconds When To Progress You can lift the arch without toe scrunching, and the movement feels controlled. Tips Easier: seated, lighter effort.
Extra Tip: toes long, tripod foot (heel - big toe - little toe). |
|||
| Level 2 | 3–4 per week / 2 minutes | You can hold the dome 3–5 seconds at a time with toes staying long (no scrunching). | Easier: wall support if needed.
Harder: longer holds or slightly more range - without gripping toes. |
|
Level 2 Frequency / How Long 3–4 per week / 2 minutes When To Progress You can hold the dome 3–5 seconds at a time with toes staying long (no scrunching). Tips Easier: wall support if needed.
Harder: longer holds or slightly more range - without gripping toes. |
|||
| Level 3 | 3-4 per week / 2-3 minutes | You can keep the dome while moving (rocking) - no toe clawing and no rolling to the outside edge | Harder: add controlled heel-to-forefoot rocks (tiny range) while holding the dome. If toes start clawing, step back to Level 2. |
|
Level 3 Frequency / How Long 3-4 per week / 2-3 minutes When To Progress You can keep the dome while moving (rocking) - no toe clawing and no rolling to the outside edge Tips Harder: add controlled heel-to-forefoot rocks (tiny range) while holding the dome. If toes start clawing, step back to Level 2. |
|||
Watch Our Full Follow Along Video
Do this with us in real time - Lauren our Head Physio guides you through the full routine, with simple cues and easy scaling options. Follow along, repeat as many sets as you like, then come back to it 3–4 times a week for the best results.

Your 0-12 Week Transition Plan
Exercises help you build capacity - but how you wear the shoes day to day is just as important. The 0–12 week barefoot shoe transition plan shows you how to pace time, surface and intensity so your transition feels steady, sustainable, and actually sticks.
Ease The Transition
If you want your transition to feel smoother, we’ve got a couple of simple tools you can use alongside time, surface and intensity.
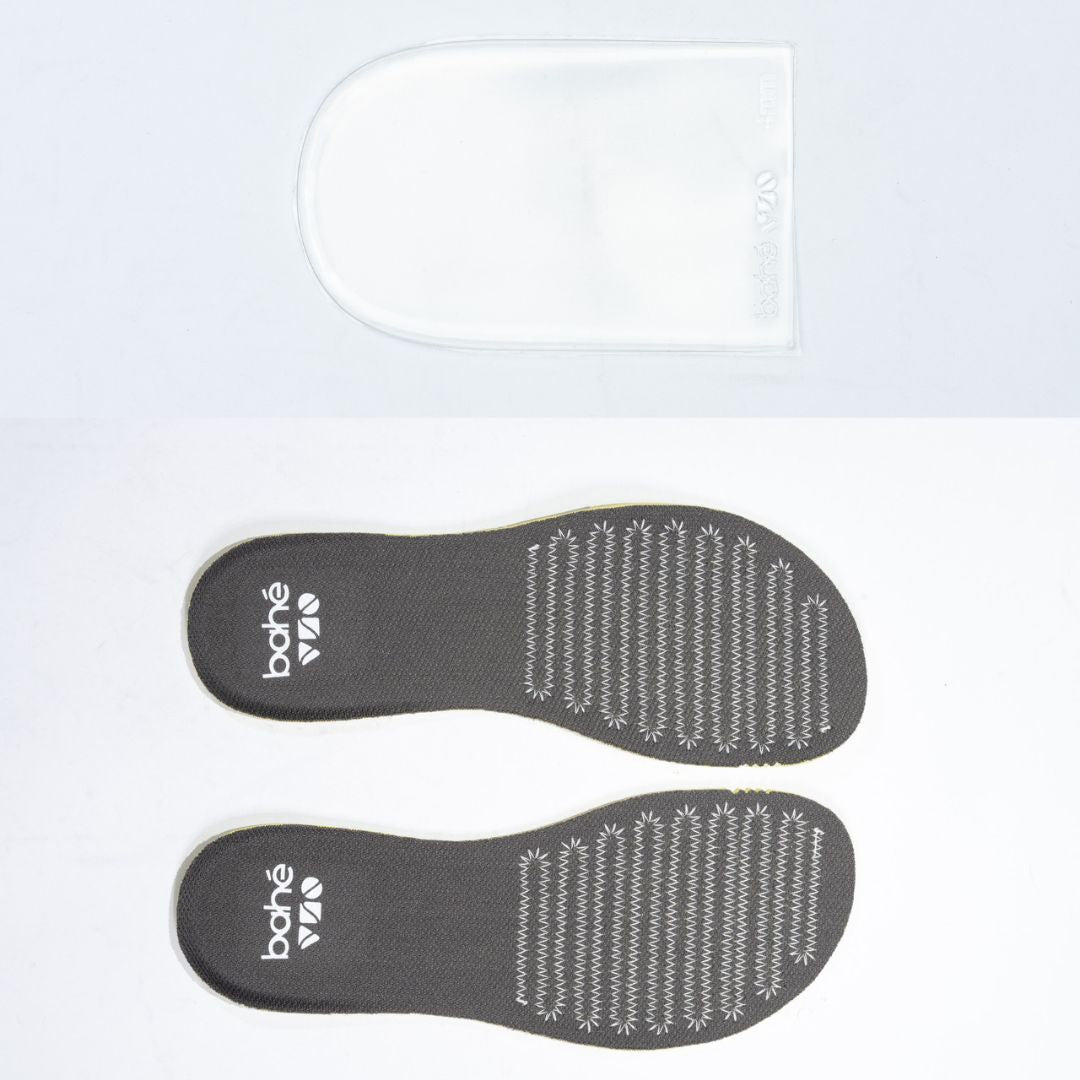
Heel lifts are a zero-drop transition dial. They add a small amount of height under the heel, which can make the switch feel less abrupt for some people - especially if calves or Achilles feel the change early on.
Extra insoles are mainly a fit-and-feel dial. They can add a touch more underfoot cushioning, and slightly reduce ground feel - useful on harder ground or longer days.
Find Your Starting Point With Bahé Modes
Your first barefoot-style shoes don’t need to be your forever shoes. The goal is to pick a set-up that suits your starting point and the way you’ll actually use them - so you can stay consistent and build from there.
That’s why we created Bahé Modes: three cushioning levels on the same foot-shaped, zero-drop platform. They mainly change ground feel vs cushioning underfoot, which can make a big difference to how your transition feels day to day.
There isn’t one “right” Mode - just the one that fits your life right now. For most people, progression tends to be Endurance -> Adapt -> Flex over time. Some people prefer less cushioning from the start to tune into technique - but they’ll usually keep the rest of their inputs lighter (shorter time, easier sessions) while they adapt.


Barefoot Transition FAQs
Strength work usually gives the best return because it builds capacity in the calves and feet. Stretching can feel great and help comfort, but it’s best used as a support - not a replacement for strengthening if you’re transitioning to zero drop.
Most people use this routine as a short-term support while they transition - typically 3–4 times a week until things feel settled. Once barefoot-style feels normal, you can often drop it right down and do occasional maintenance (i.e. once per week or as part of regular warm ups) and let your usual walking/training do the work. Bring it back as a “top-up” if calves or feet start feeling worked again, or if you’re planning to ramp up the intensity, duration or hardness of surfaces you'll be using.
The most useful combo is straight-knee calf raises (targets the gastrocnemius) plus bent-knee calf raises (targets the soleus). The goal isn’t to overdo it - it’s slow, controlled reps you can recover from easily, so calf soreness settles down as you adapt over time.
If it feels like mild “worked muscles”, keep it easy: shorten range, reduce reps, and stay in control. If pain is sharp, worsening, or changing how you move, reduce load and consider getting it checked.
Use the guidance in the tables on this page: progress when you can keep clean form and recovery feels easy within 24–48 hours. If you’re unsure, hold the same level for another week - that’s still progress.
No - a wall or chair for balance is enough. If you want extra tools, The Foot Collective SoleMate and Cork Mobility Ball are versatile for self-massage, mobility and balance work - but they’re optional, not required.
Check out our foot health equipment here.